Connect OpenClaw to WhatsApp Automation (2026 Guide)
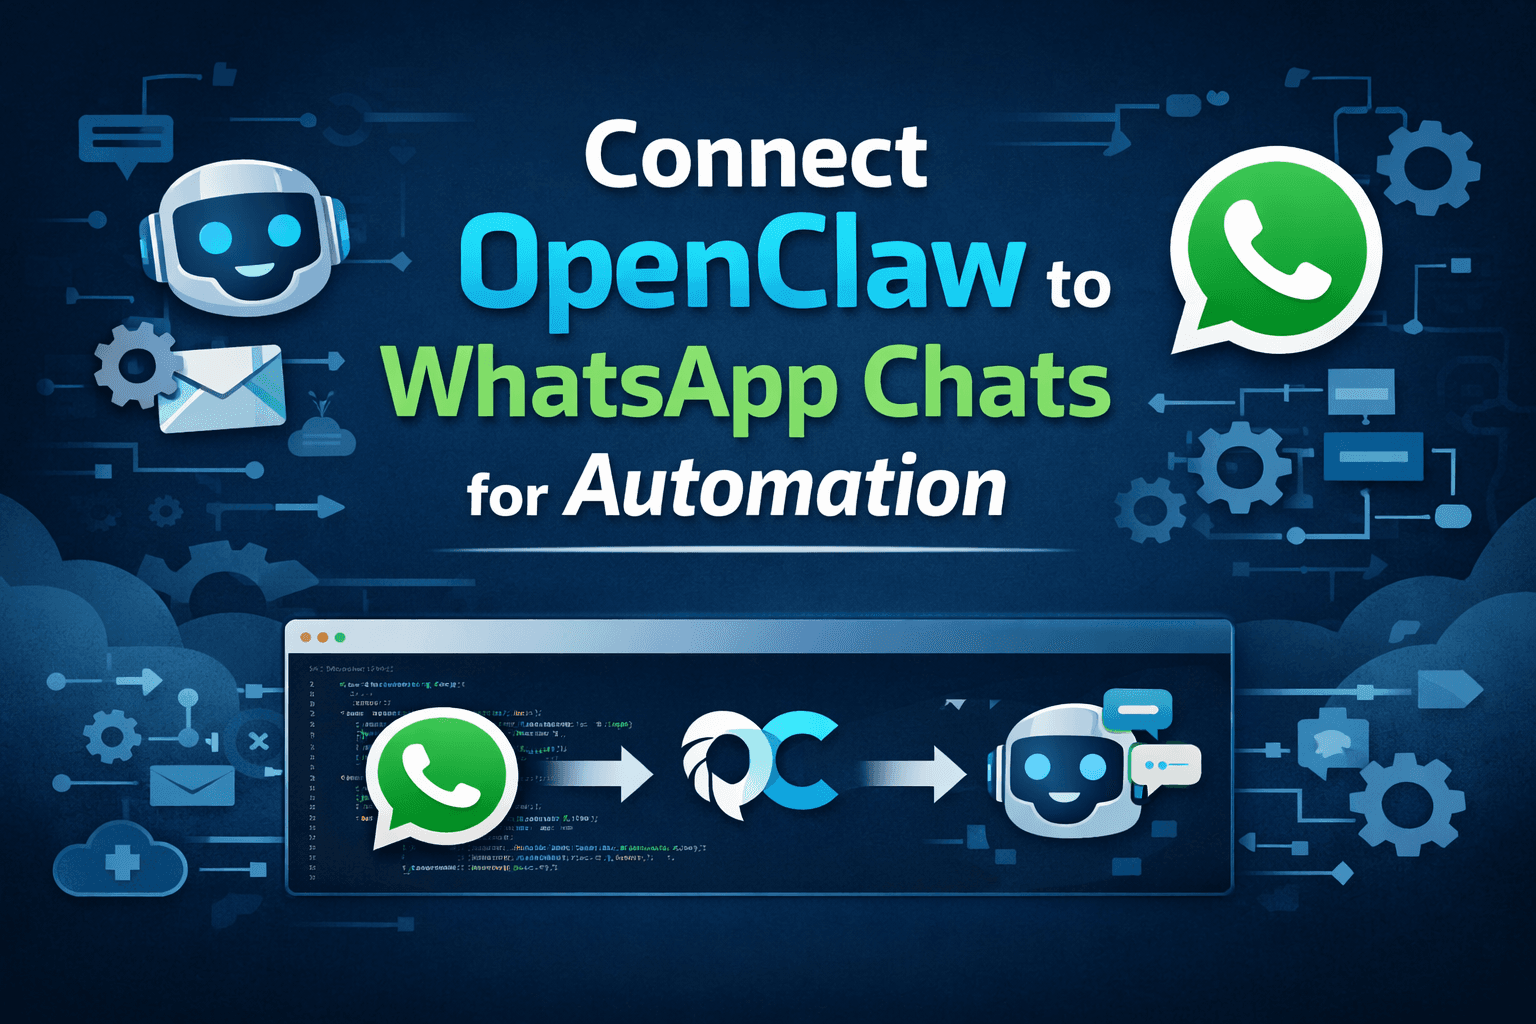
Stop context-switching. Learn how to build a production-ready WhatsApp AI assistant using the OpenClaw engine and Node.js.
1. Why WhatsApp Automation is the New Standard
In 2026, the barrier between businesses and customers has completely dissolved. We are no longer in the era of "waiting for an email." If you are building a SaaS or a local service, your customers expect a reply within seconds—right where they already live: WhatsApp.
Whether it is lead qualification, automated customer support, or scaling an eCommerce store, connecting an AI engine like OpenClaw to WhatsApp allows you to handle thousands of conversations simultaneously without hiring a massive support team. Today, we are going to build a fully automated WhatsApp AI bot from scratch.
Want to save hours every week with AI automation? Don’t miss this guide on 10 real tasks Perplexity Computer can automate in 2026 — it’s packed with actionable insights you can start using today.
AI is evolving beyond chatbots into autonomous digital workers. In our detailed guide on what Perplexity Computer is and how the AI agent works , discover how it can research, automate tasks, and boost productivity directly from your PC.
We've previously discussed why OpenClaw feels like giving an AI your laptop password—it's because of its deep execution capabilities. Today, we're focusing on the communication layer.
2. Understanding the Architecture
Before we touch a single line of code, let's look at how the data flows. Understanding this "handshake" is critical for error handling and scaling.
User Message → WhatsApp API → Your Node.js Webhook → OpenClaw API → Response Engine → WhatsApp Reply
3. Step 1: Set Up the WhatsApp Business API
You can't just use a personal WhatsApp number for this. You need the official WhatsApp Cloud API from Meta. Head over to the Meta Developer Portal and create an app.
- Create a Meta Developer account.
- Set up a WhatsApp Business App.
- Obtain your Phone Number ID and Permanent Access Token.
Webhook Verification Code
WhatsApp requires you to verify your webhook URL before it starts sending messages to your server. Here is a simple Express.js snippet to handle the verification:
const express = require('express');
const app = express();

app.get("/webhook", (req, res) => {
  const VERIFY_TOKEN = "your_custom_token_here";

  const mode = req.query["hub.mode"];
  const token = req.query["hub.verify_token"];
  const challenge = req.query["hub.challenge"];

  if (mode === "subscribe" && token === VERIFY_TOKEN) {
    return res.status(200).send(challenge);
  }
  res.sendStatus(403);
});
4. Step 2: Receiving Incoming Messages
Once verified, WhatsApp will `POST` every incoming message to your webhook. You need to parse this JSON to get the sender's number and their message text.
app.post("/webhook", async (req, res) => {
  const value = req.body.entry?.[0]?.changes?.[0]?.value;
  const message = value?.messages?.[0];

  if (message?.type === 'text') {
    const from = message.from; // User's phone number
    const text = message.text.body; // User's message

    // Trigger OpenClaw Logic Here
    await processMessage(from, text);
  }

  res.sendStatus(200); // Always acknowledge with 200
});
5. Step 3: Connecting to the OpenClaw API
Now for the "brain" of the operation. We send the user's message to OpenClaw. OpenClaw handles the prompt engineering, memory, and context to provide a human-like response.
const axios = require('axios');

async function getOpenClawResponse(userMessage) {
  try {
    const response = await axios.post("https://api.openclaw.ai/chat", {
      message: userMessage,
      stream: false
    }, {
      headers: { 'Authorization': `Bearer ${process.env.OPENCLAW_KEY}` }
    });

    return response.data.reply;
  } catch (error) {
    console.error("OpenClaw API Error:", error);
    return "Sorry, our AI is taking a quick coffee break.";
  }
}
6. Step 4: Sending the Automated Reply
Finally, we take the reply from OpenClaw and push it back to the user via the WhatsApp Cloud API.
async function sendWhatsAppMessage(to, message) {
  await axios.post(`https://graph.facebook.com/v18.0/${process.env.PHONE_ID}/messages`, {
    messaging_product: "whatsapp",
    to: to,
    text: { body: message }
  }, {
    headers: { 'Authorization': `Bearer ${process.env.ACCESS_TOKEN}` }
  });
}
7. Advanced Automation Use Cases
Simply chatting is just the start. With the power of OpenClaw WhatsApp integration, you can build:
- Lead Qualification Bot: Ask budget and timeline questions before passing to a human.
- E-commerce Support: Using latest AI models to track orders and answer product queries.
- Dynamic Appointment Booking: Check your calendar and book slots directly in the chat.
For high-volume bots, implement a queue system like BullMQ. WhatsApp has rate limits, and you don't want to crash your server during a traffic spike.
8. Useful Resources for Building WhatsApp Automation
The source of truth for sending/receiving messages.
Lightweight framework for your webhook server.
Expose your localhost to the internet for testing.
Perfect for storing chat history and user states.
9. Conclusion
Building a WhatsApp AI bot with Node.js and OpenClaw is one of the most high-ROI projects a developer can undertake in 2026. You aren't just writing code; you are building an autonomous employee that works 24/7.
Ready to push the boundaries of AI? Check out 10 Powerful n8n workflows for business to see how you can connect your WhatsApp bot to your entire marketing stack.
Start Building Your AI Future
Want to dive deeper into AI engines? Explore our full library of developer guides at Cloudvyn.
Visit Cloudvyn AI LabLooking for powerful free AI tools to improve your development workflow? Explore our detailed guide on open-source LLMs for coding to discover the top AI coding models developers are using in 2026. Learn how these tools can help you write, debug, and optimize code faster while maintaining privacy and full control.
If you're facing authentication or connection issues while setting up OpenClaw, especially errors like "disconnected (1008): pairing required", it usually indicates a problem with device pairing or gateway authentication configuration. This is a common issue in Docker, remote deployments, or reverse proxy setups where the client fails to complete the pairing process with the server. To understand the root cause and apply step-by-step fixes, check out our detailed guide on how to fix OpenClaw disconnected (1008) pairing required error , where we cover practical solutions, configuration fixes, and troubleshooting tips.